Creating a Ped-O-Pull
I’ve known for a while now my studio was lacking a certain piece of equipment, but with the current shipping delays, not to mention the cost of shipping anything at the moment, purchasing some of the smaller apparatus isn’t as appealing. That’s when I decided to go on a journey down the DIY rabbit hole.
Now, some of you may not know this, but I am not a DIY type of gal. So I called on my father, who very much is a DIY kind of guy. After sending him plans of what I wanted to make, and scouring the Bunnings website for the perfect pieces of tube, I had it all added to cart and was about to check out when Dad called “Hold the phone Claire, don’t buy anything, I think I’ve got it all in the shed!” This might sound wild to some, but my Dad doesn’t like to throw anything away, he’s one of those “you never know when it will be useful” types - and this time he was right!
I went to visit and check out what he had, next thing I know we are busy putting together a Ped-O-Pull. While we were building it Dad told me that the steel pipes we’re using were actually from my grandparents house - dad thought they’d be useful when we cleared it out nearly 20 years ago! So this Ped-O-Pull has an even more special place in my heart and studio.
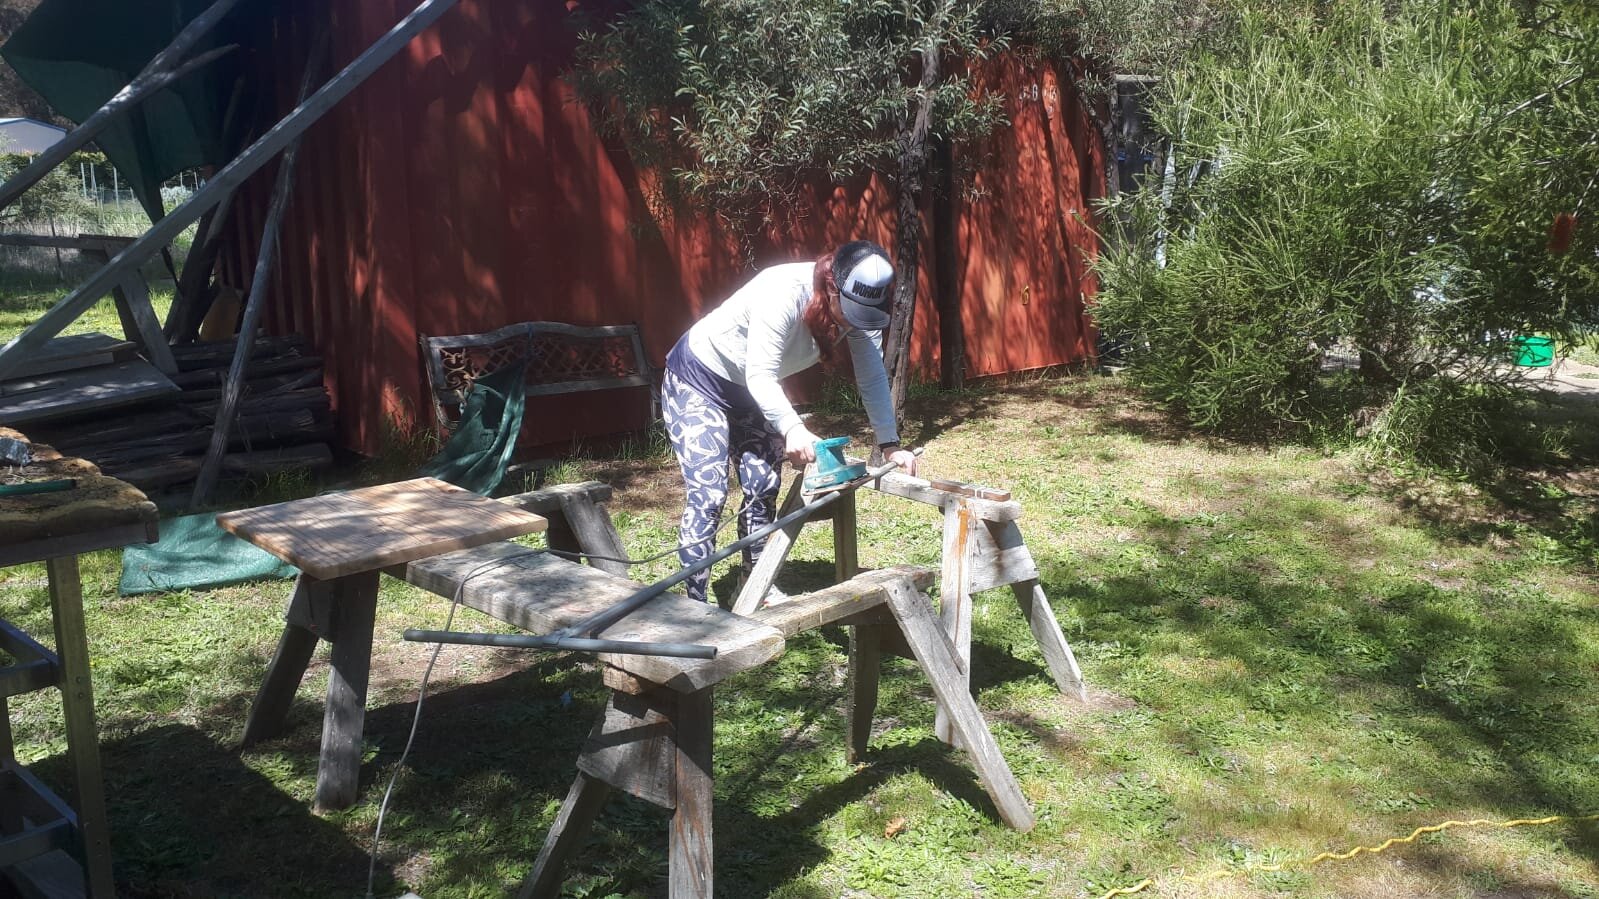
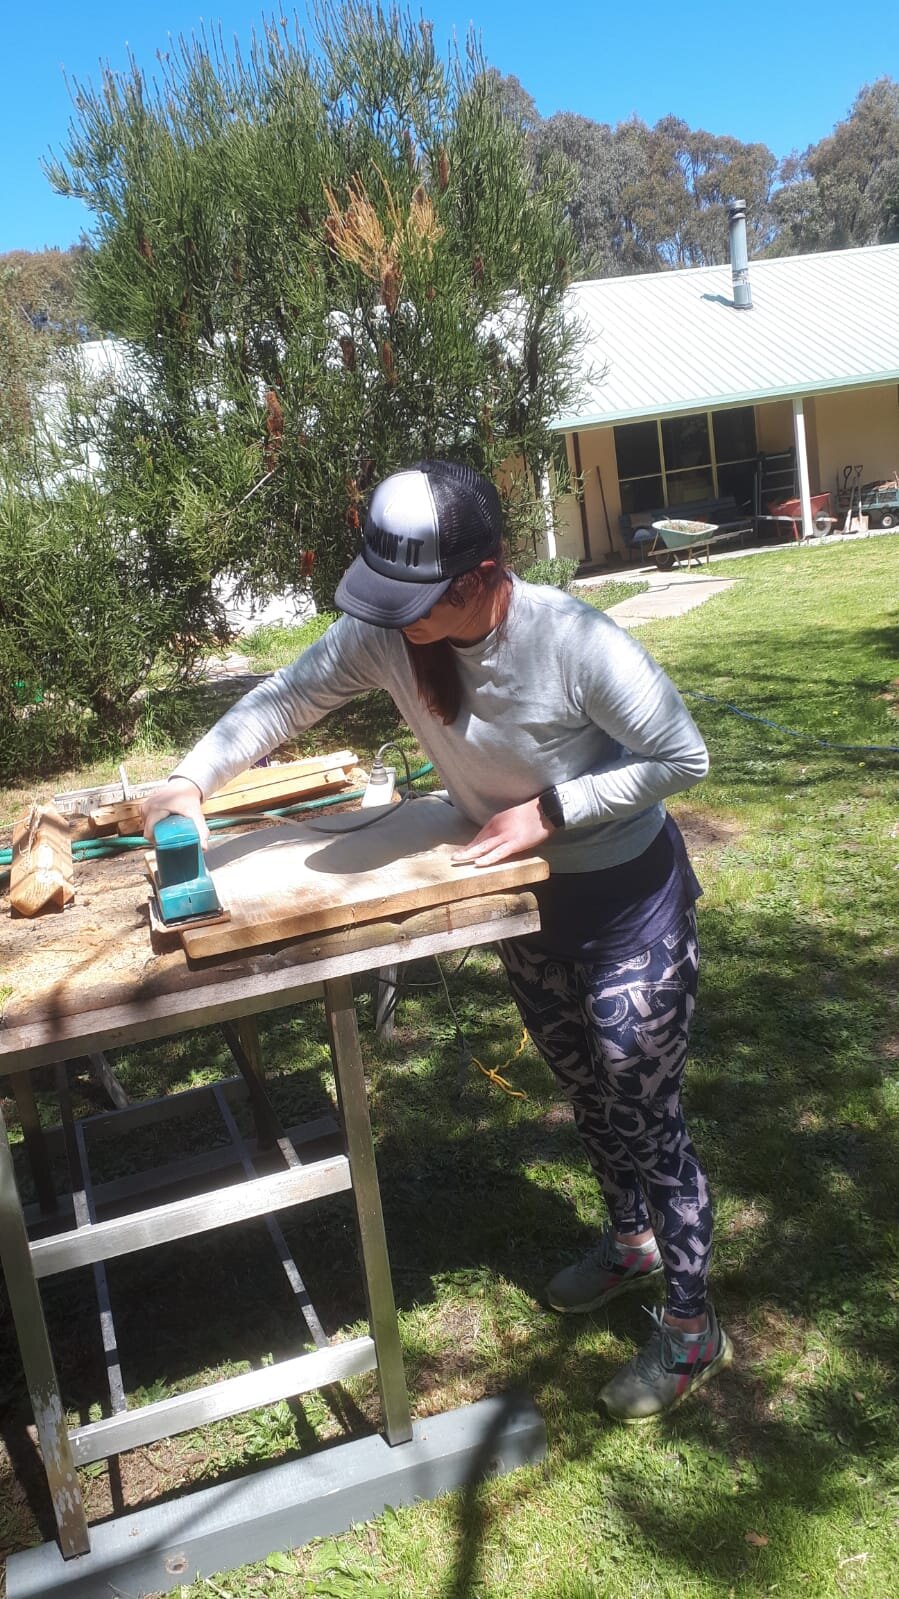
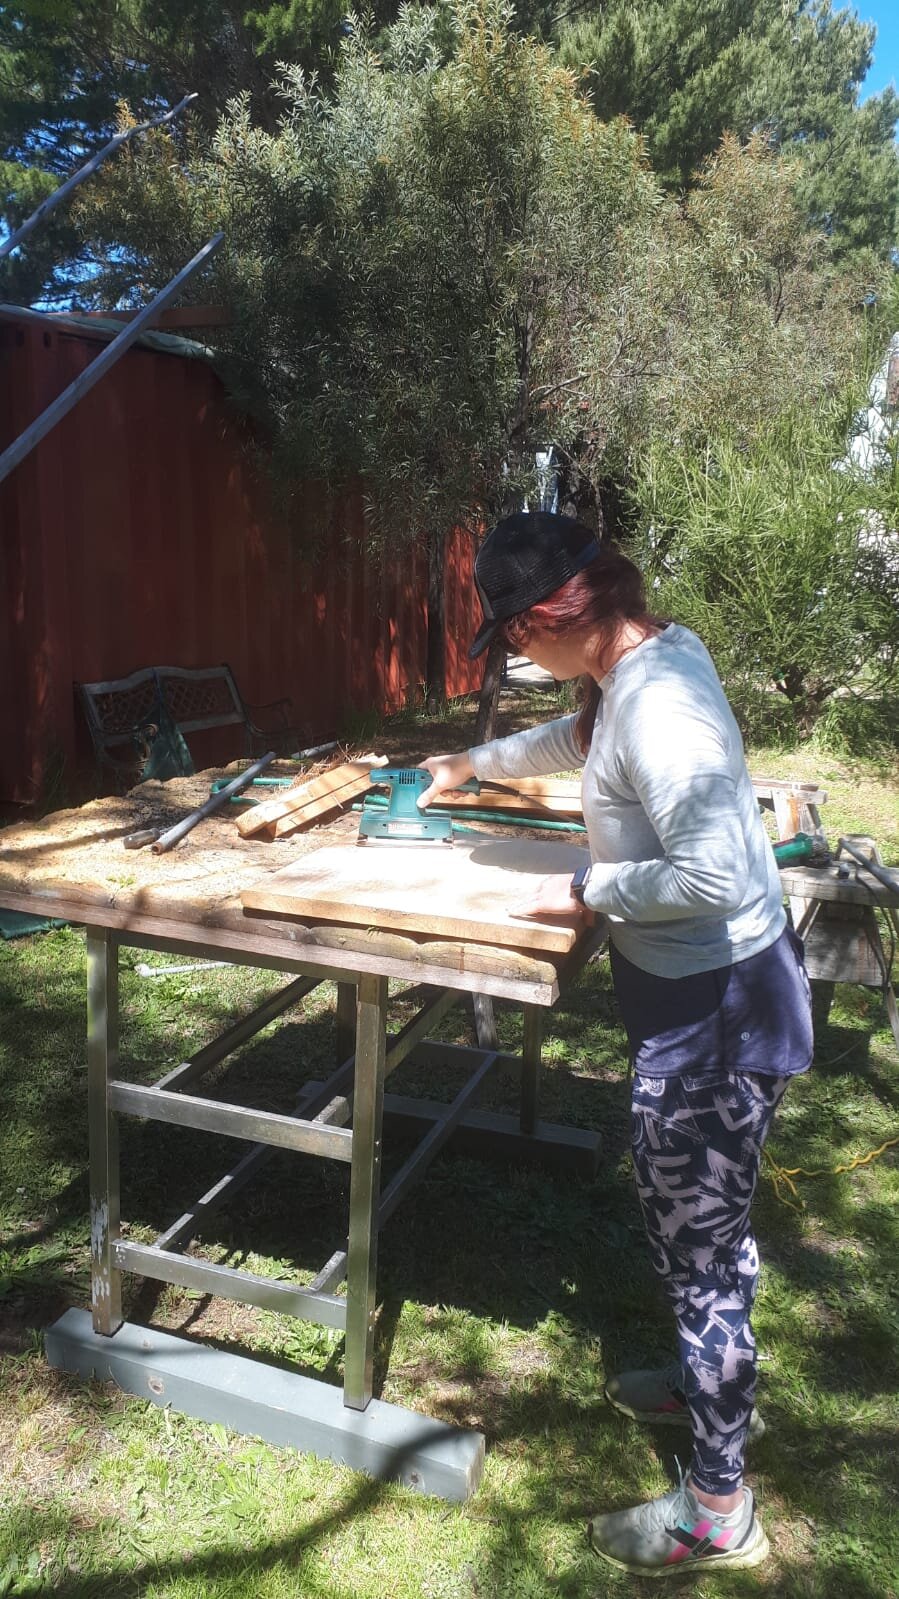
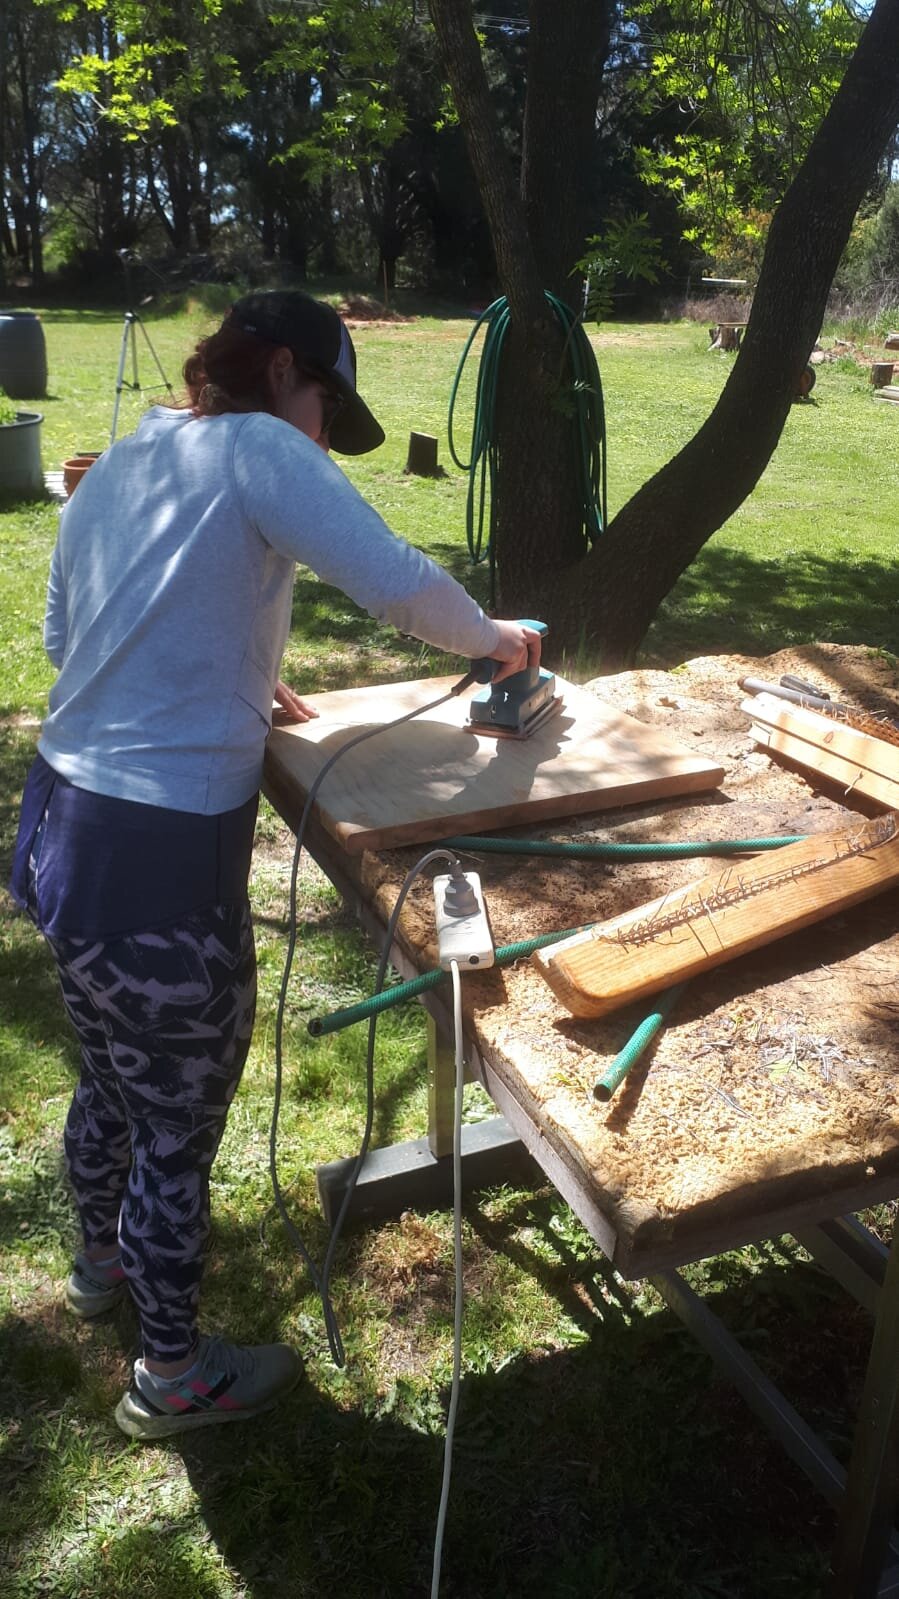
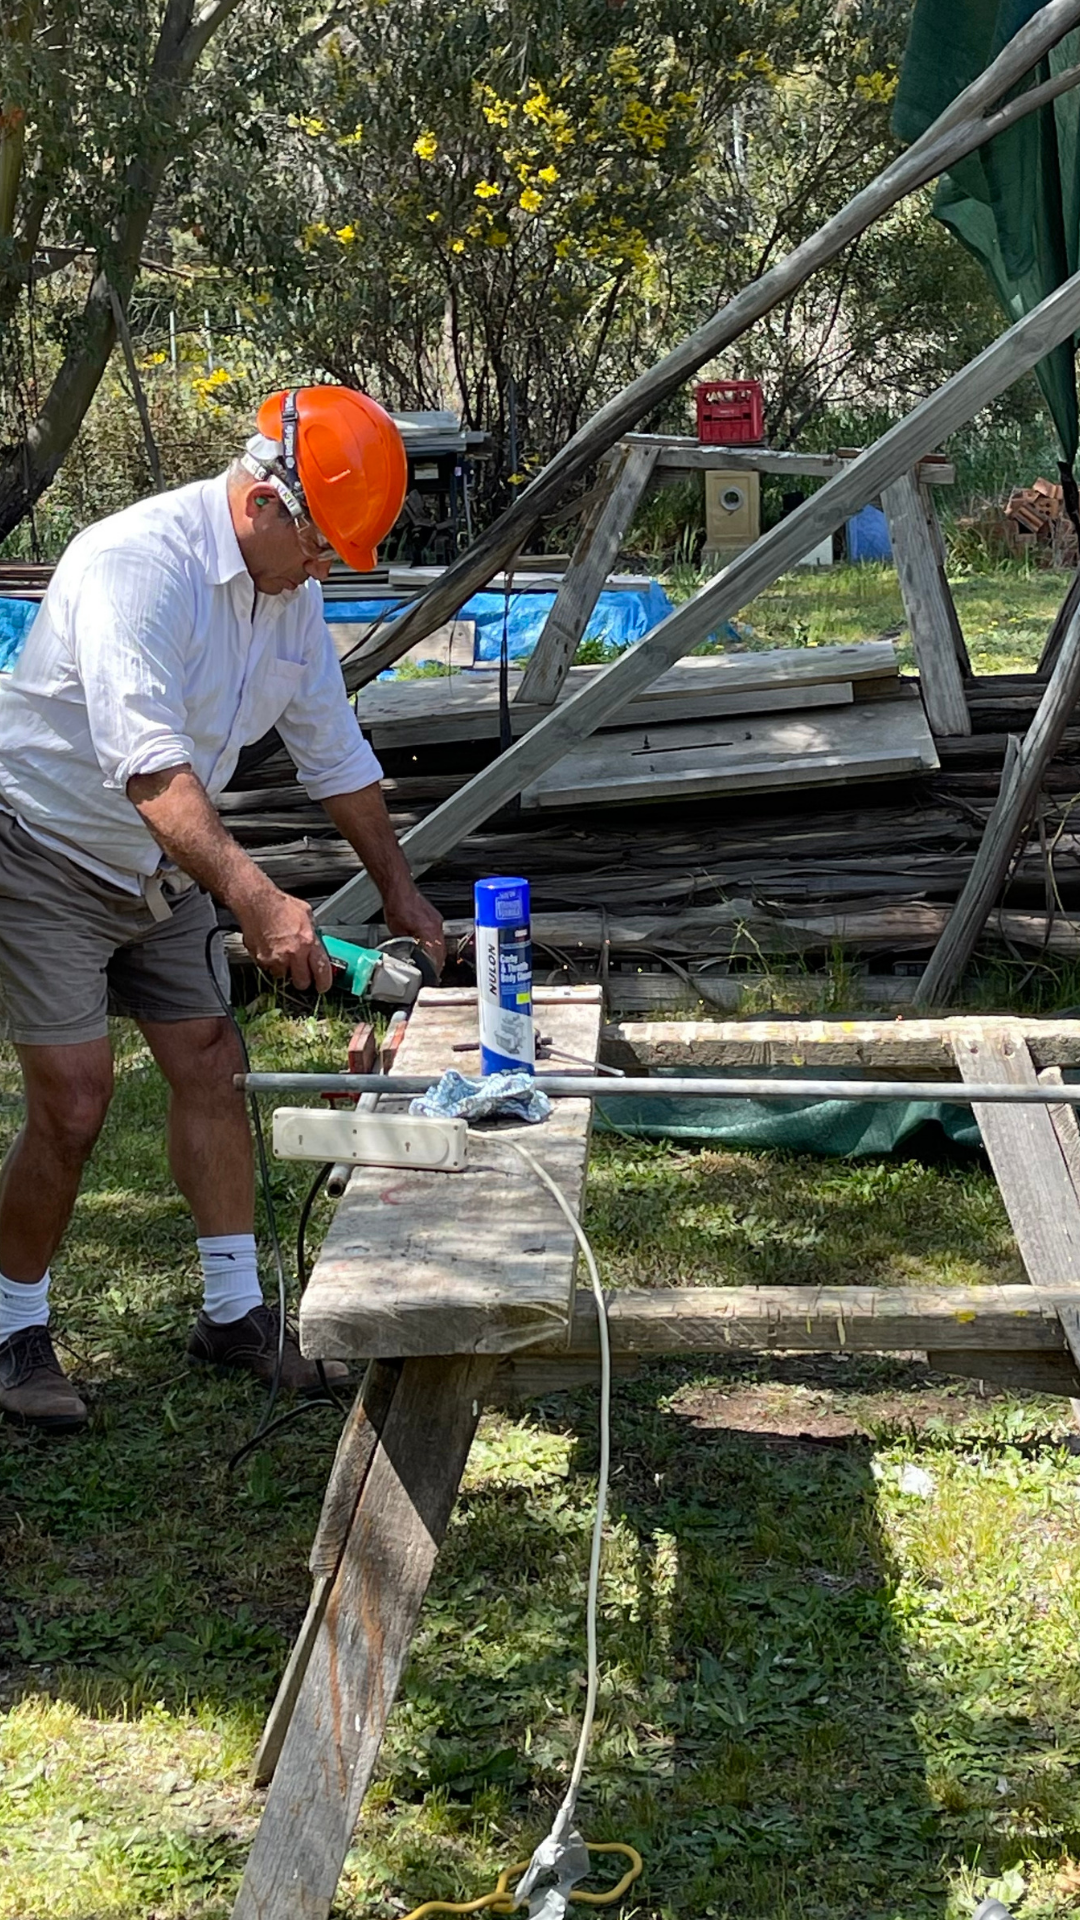
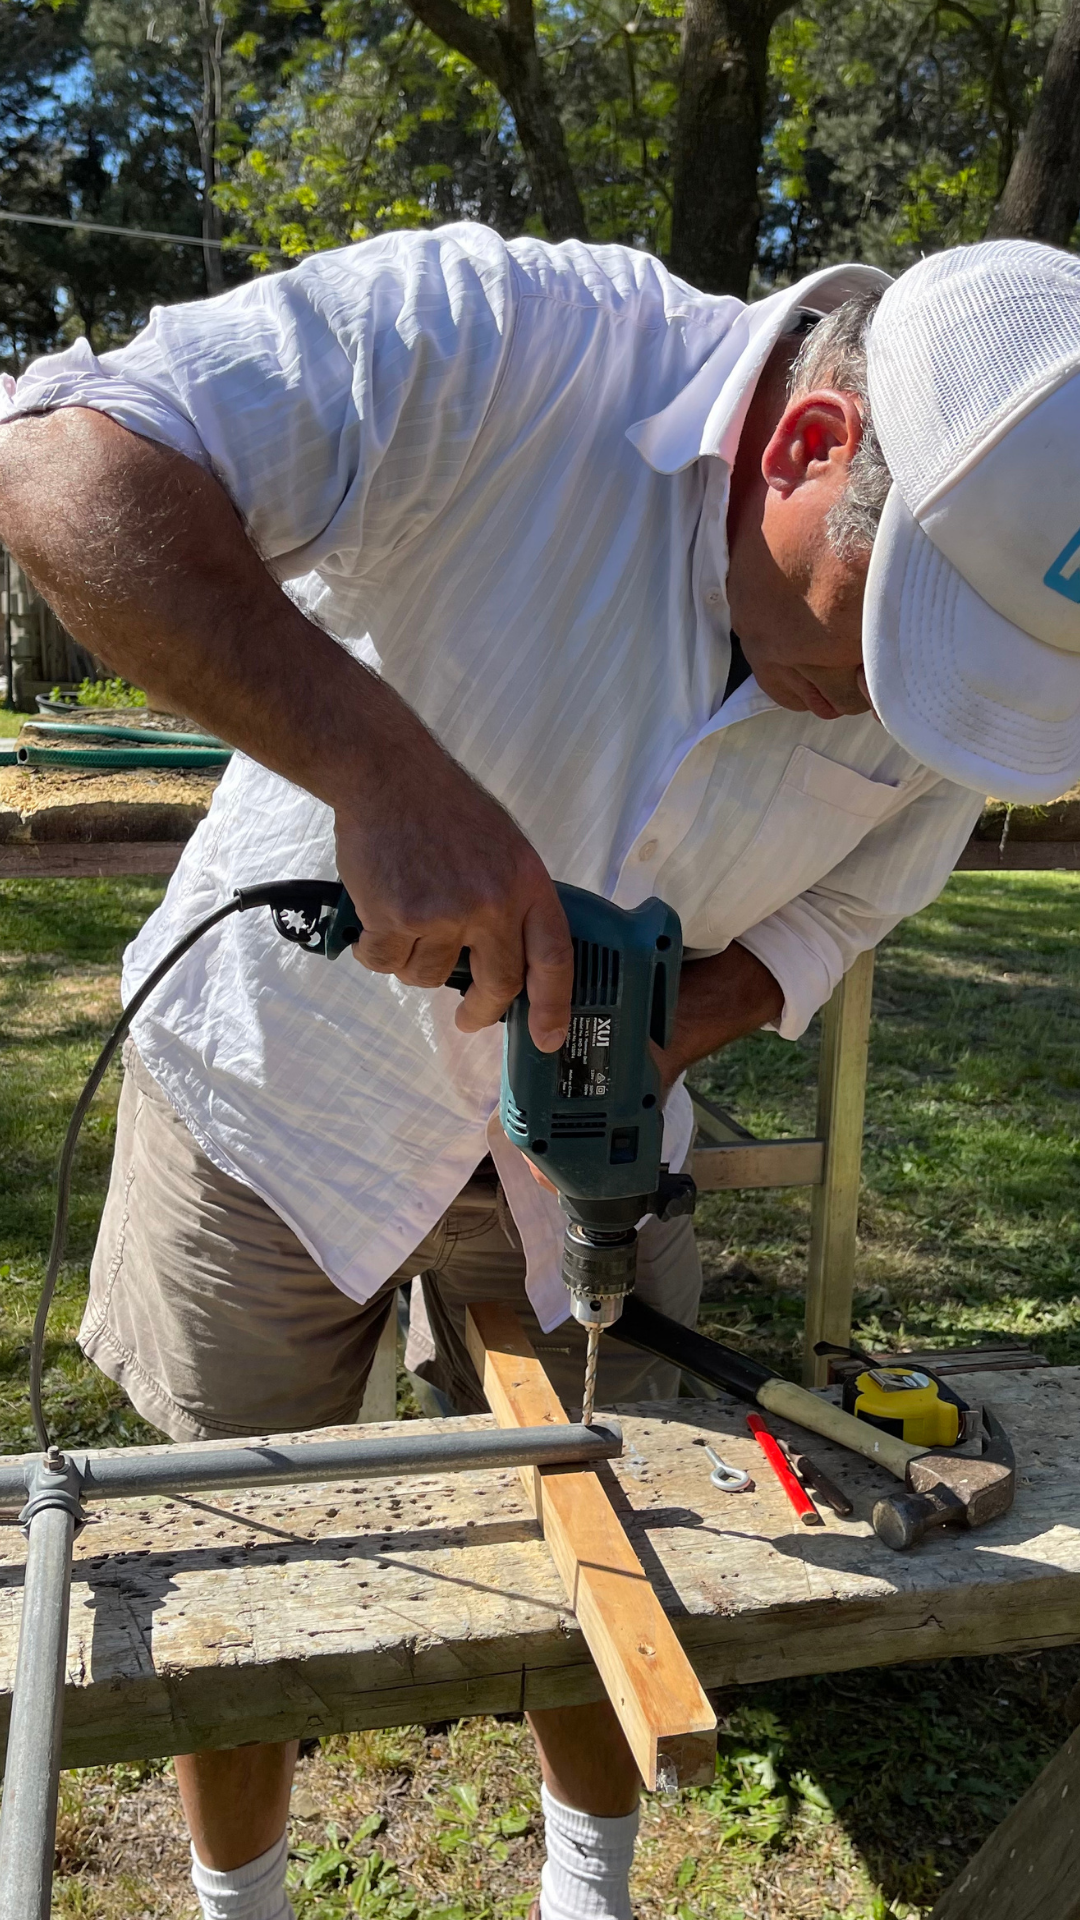
Here are a couple of pictures of the build, and a run down of how we built it. This is the first time I have ever used these tools before! Guess we really are always learning.
Material:
Steel Pipe x 2. One cut to 2.1 meters, the other is 61cm
Pipe clamp.
Wood base plate - This was an old table that we cut down and sanded. approx 50cm x 50cm
Eye hooks - had to buy these (I’m sure there were some in the shed, but that would have taken too long to search for) I went with 50mm x 14mm hooks $3 for two. Bargain!
How we did it:
Measured and cut the pipes to size
Sanded pipes back to clean them off (after all, they had been sitting around for the best part of 20 years)
Clamped pipes together with pipe clamp
Cut base plate to size, sanded back old varnish to bring it back to the wood.
Cut a smaller piece of wood, sanded and screwed into the baseplate (at the back) for the pole to sit in.
Drilled hole through the smaller piece and down into the top of the baseplate, this is where the pole will sit in place.
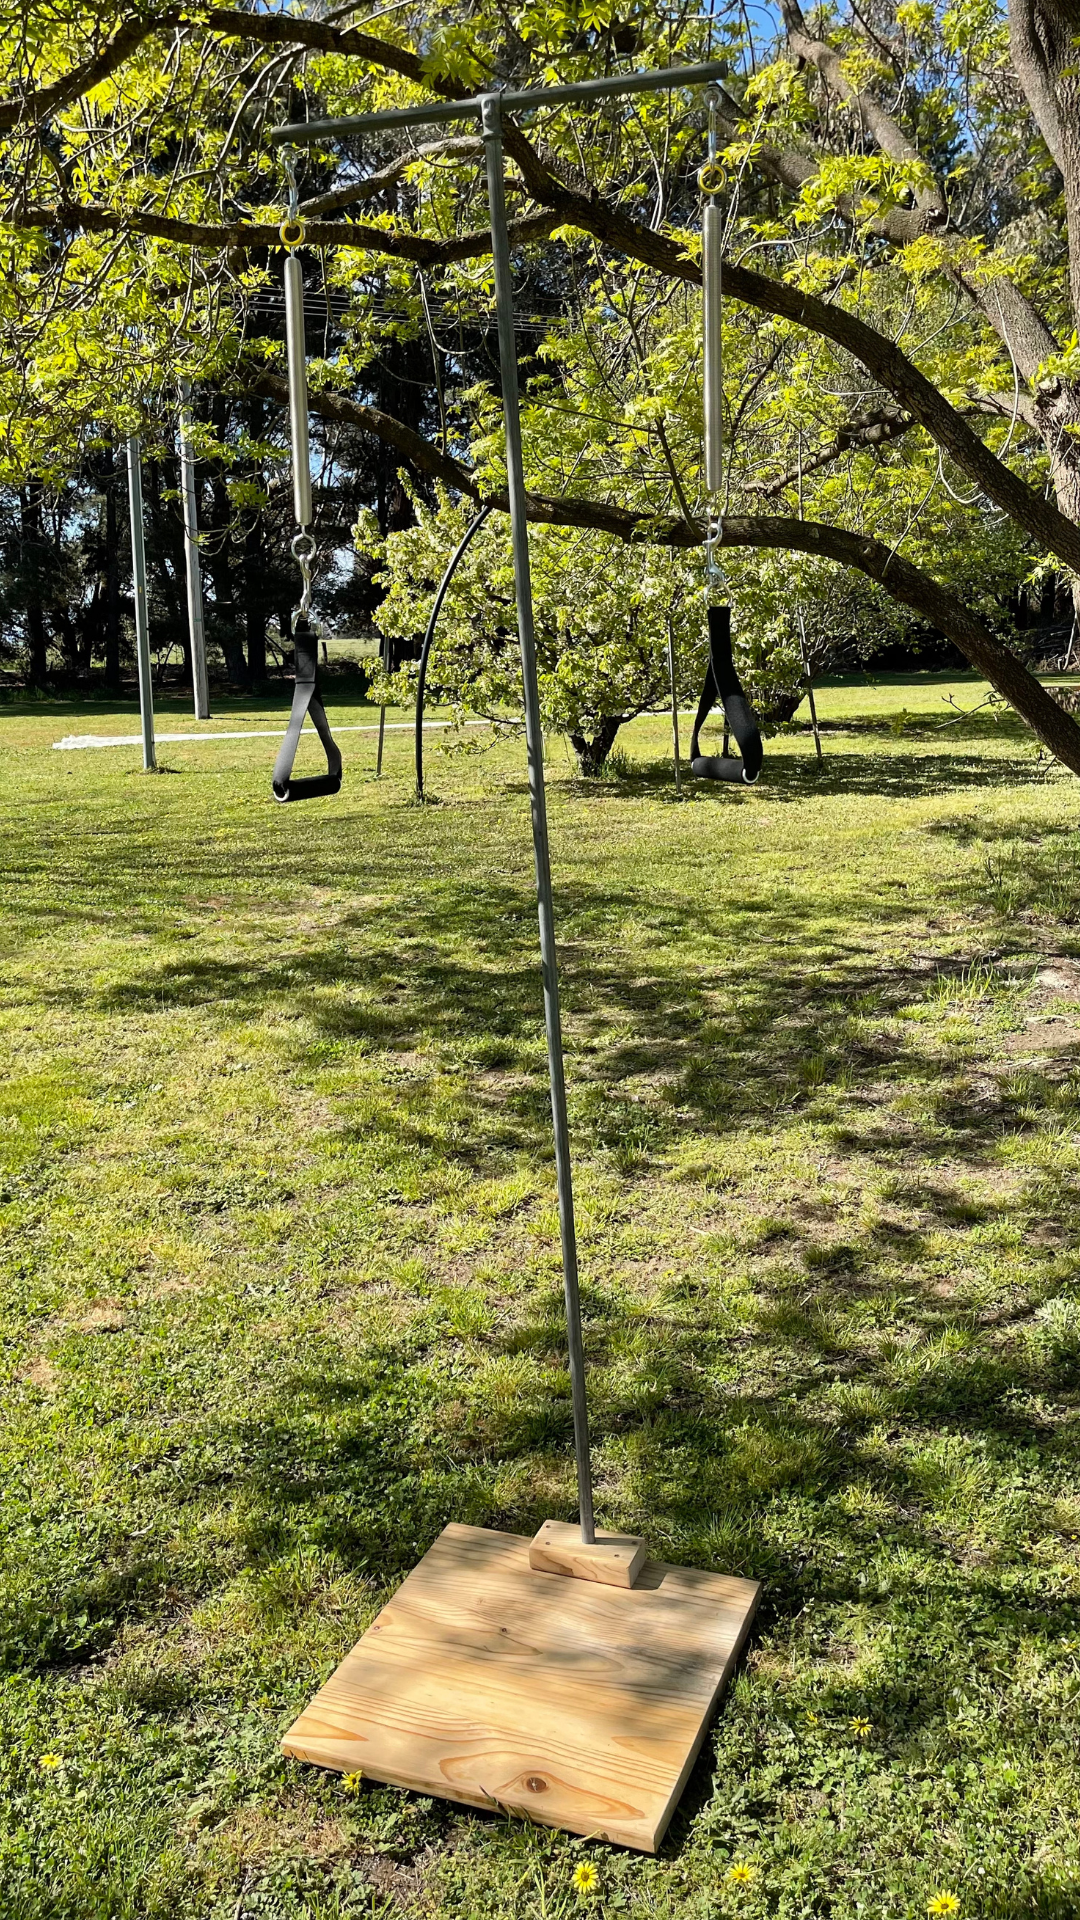
Checked it stood upright!
Measured and drilled a hole for the eye hooks to go through, important for the springs to hang!
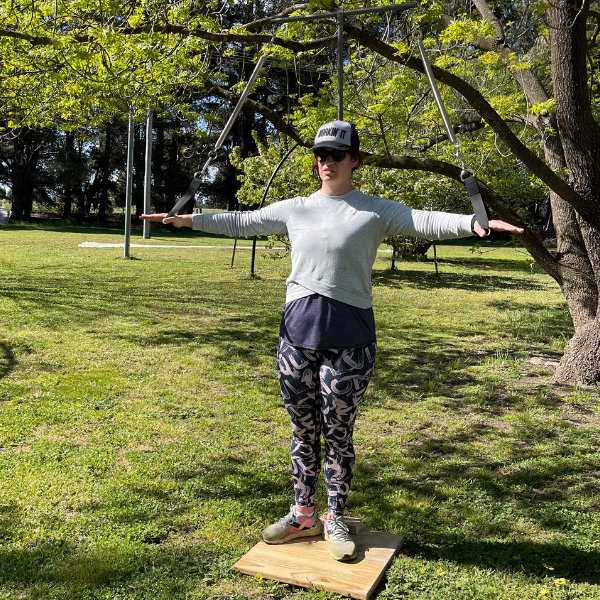
Put it all together, clipped in springs and off we go!
All in all, about two hours work!